

How To Make A Cabochon Setting
Enjoy an afternoon in the studio creating beautiful cabochon pendants! This how-to guide will show you footstep-by-step how to brand custom cabochon settings in a few short hours.
Next time you're in the jewelry making studio, experiment with setting a cabochon on sterling silverish sheet to make a custom pendant. It takes almost three hours and information technology's a perfect style to do soldering layered joins. There are a lot of ways to make this project your ain, so catch a cabochon and let's get started!
Jewelry Supplies List:
Materials
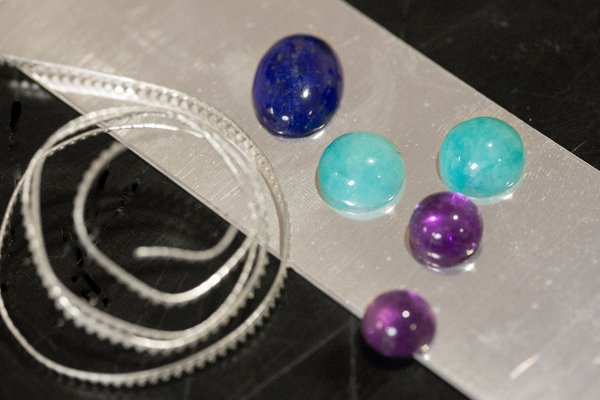
- Gemstone Cabochon
- Sterling Silver Sheet (20ga) (size based on pendant)
- Fine Silver Bezel Wire (size based on pendant)
- Sterling Silver Bail
- Copper or sterling silverish wire (whatsoever flake pieces will do)
- Finished necklace chain
Tools
- Files (regular and needle files)
- Sandpaper (variety of grits)
- Torch
- Solder- difficult, medium & soft
- 3rd manus (you may want two, depending on the size of your pendant)
- Charcoal Block w/ holes (optional) or Soldering Board
- Ring Clamp
- Flex Shaft or Drill Press
- Bezel Roller
- Bezel Burnisher
- Tumbler or polishing tools
- Drill Bit
- Bench Polisher (optional)
Procedure Steps:
Pace i: Bezel
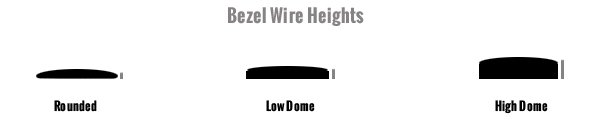
2. Choose a bezel wire that's the correct elevation for your cabochon. Wrap your bezel wire around the cab.
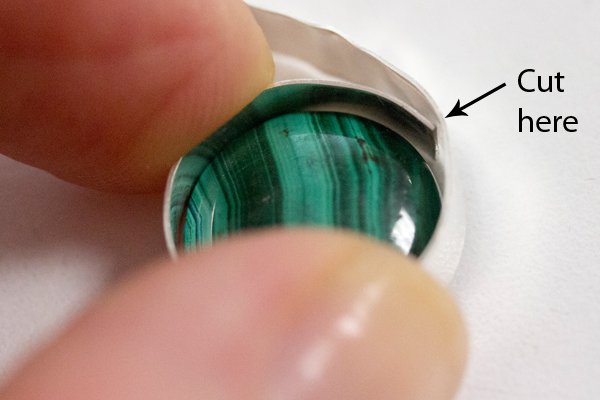
3. Cut about ii-3mm by the verbal size.
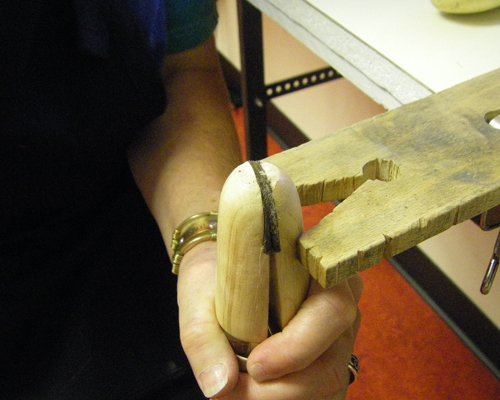
4. Put your bezel wire into the ring clench making sure it is straight and extending upward.
5. File straight beyond removing most 1mm off each terminate of the wire to prepare the ends for soldering.
half-dozen. Wrap information technology around the cab again to make sure information technology is notwithstanding overlapping.
7. File a little more (checking it often against the cab).
8. When the fit is tight and the ends are flush, you're ready to solder.
nine. Use sandpaper to clean the ends of the bezel wire.
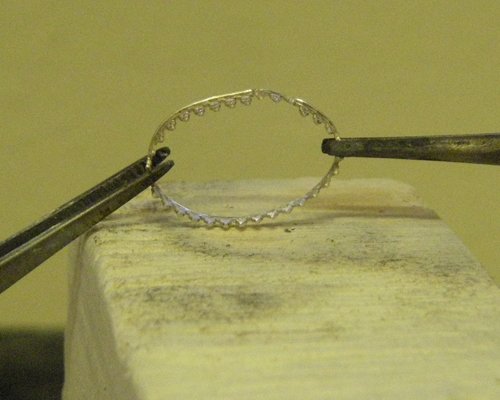
10. Identify bezel wire in the third-hand clench(southward) with the ends on the summit.
11. Flux the unabridged piece, and then add a piece of difficult solder to the join.
12. Tilt the flame so it's aiming up and then heat the entire piece until the solder flows.
13. Pickle and quench.
Note: Brand certain the cabochon fits tightly into the bezel wire! Be sure you lot are able to skid it all the fashion through from i cease and out the other end.
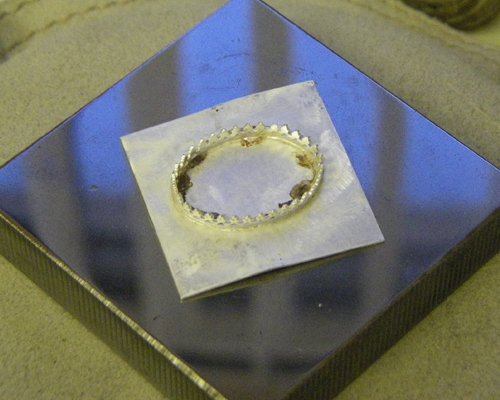
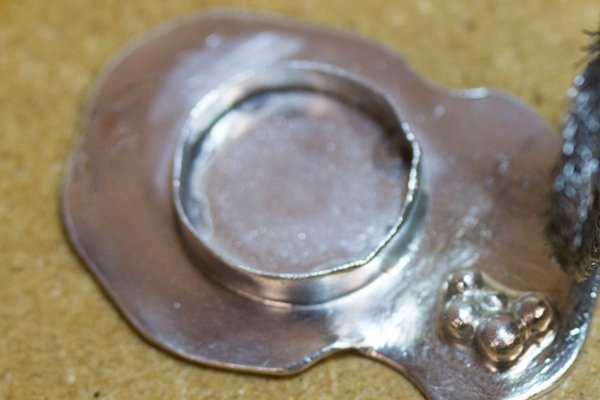
Footstep 2: The Back Plate
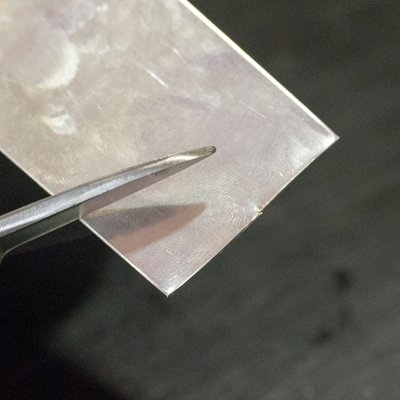
i. Cut the sail to your desired shape. You tin can get really creative hither or stay with shapes that are more geometric, like a circle or square.
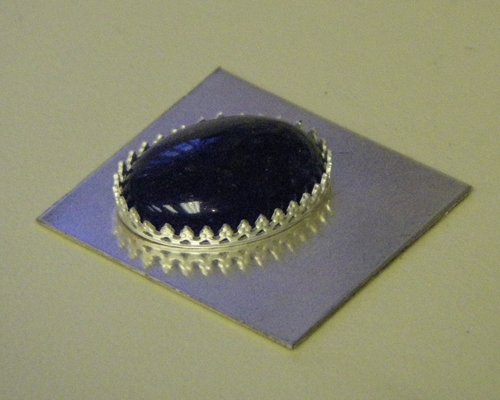
ii. Place the bezel wire on the sheet to determine the placement of your cabochon.
3. Remove the cab and brand certain there are no gaps between the bezel wire and sheet. If there are, sand the bottom of the bezel wire with 600-800 grit sandpaper in a effigy-8 shape while pressing down from the tiptop of the wire, until it fits affluent on the sail.
4. Using 800 dust sandpaper, clean the bottom of the bezel wire and the sheet where the bezel volition be soldered onto it.
5. Replace the bezel wire on the sheet.
half-dozen. Bank check for gaps again.
7. Adhere information technology to the third mitt(s), with the bottom of the sheet in the air so you can heat information technology from the bottom.
8. Flux the piece, so add pieces of medium solder 5-6mm autonomously around the inside edge of the bezel wire.
9. Heat the entire piece from the bottom until the solder flows.
ten. Pickle and quench.
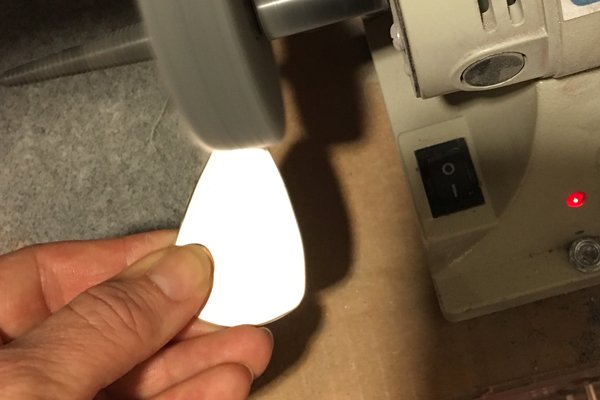
11. This is an platonic time to clean off all of the extra solder from the piece using sandpaper, a bench polisher or flex shaft attachments.
Pace 3: Creating Granules

1. Cutting bits of wire (copper or silver) to different lengths to make granules. In general, small pieces make small granules and big pieces make big granules. Experiment to meet which size yous adopt and remember that the wire gauge will bear on the size of the finished granules.
2. Place the wire pieces into the holes in the pre-drilled charcoal block (optional) or place them separated far apart on your soldering board.
3. Aim the torch on the wire pieces at full blast.
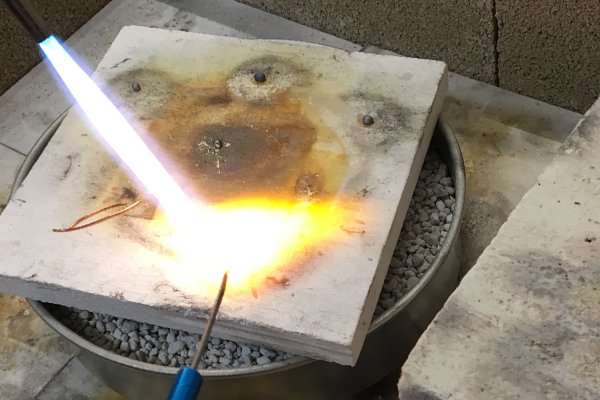
4. Heat each slice of wire until it forms into a round granule.
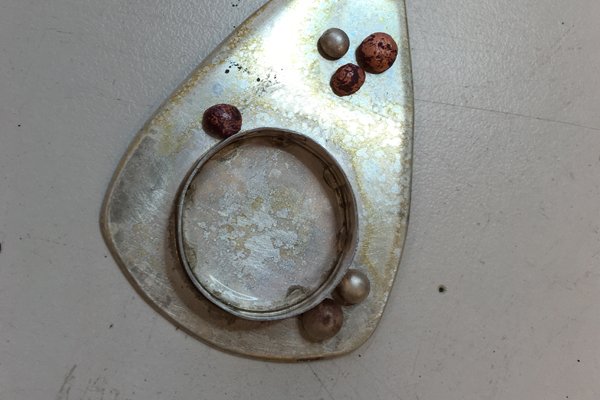
5. Let the granules absurd down naturally. Or, if they're large enough, you can drib them into a pickle pot.
6. Sandpaper the bottoms of the granules, so each one has a clean, affluent contact with the pendant.
7. Put your pendant into the third paw once again.
8. Flux where the granules volition lay on the pendant.
ix. Flatten some tiny pieces of easy solder.
10. Place the solder where you want the granules to be.
eleven. Heat from underneath the backplate until the solder melts then stop.
12. Drop the granules onto the melted solder and heat once again from underneath until the solder flows. Your granules should be attached (if non pickle, flux, and estrus once again).
13. Pickle and quench.
14. Clean any actress solder off your slice again by using the bench polisher or flex shaft.
Pace 4: The Bail
1. Utilize a drill press (or a Flex Shaft) to make a hole at the acme center of the pendant. It must be big enough for the side of the bail to slip through.
2. If your bond is soldered, use a saw to carve up the ends open up.
iii. Utilize sandpaper to make clean the ends of the bail where they will join back together.

4. Attach the bail to the pendant, making certain the ends touch through the hole.
v. Utilize a 3rd manus to hold the pendant at an angle so the bail hangs through to be soldered (it's important to pull the bail ends every bit far away from the sheet as possible so when the solder flows it won't solder the bond onto the sheet).
6. Flux the bail where the two ends run into.
7. Add a tiny slice of like shooting fish in a barrel solder to the bail ends.
8. Try to aim the flame merely on the bail, heating up the entire bail until the solder flows (we but want to shut the bond ends here).
9. Yous should accept a freely moving, closed bail on the pendant. If the bond is fastened to the surface of the pendant, carefully knock it loose with the rawhide hammer or gently file or sand it loose.
10. Pickle and quench.
11. Finish the metal portion of the pendant now, before the cabochon is set. Yous tin add together texture, liver of sulphur patina or tumble information technology to achieve different effects.
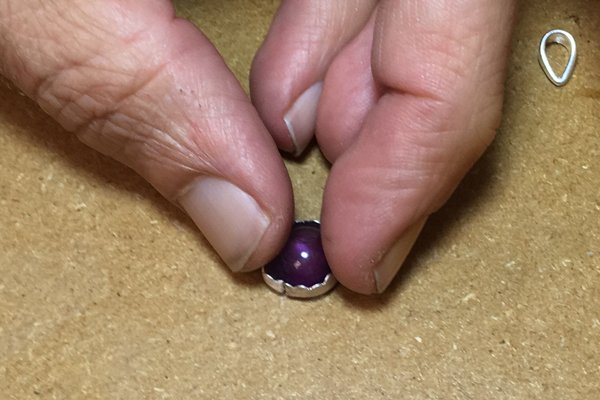
Step five: Setting the Cabochon
one. Place the cabochon into the bezel wire past pushing down on it gently.
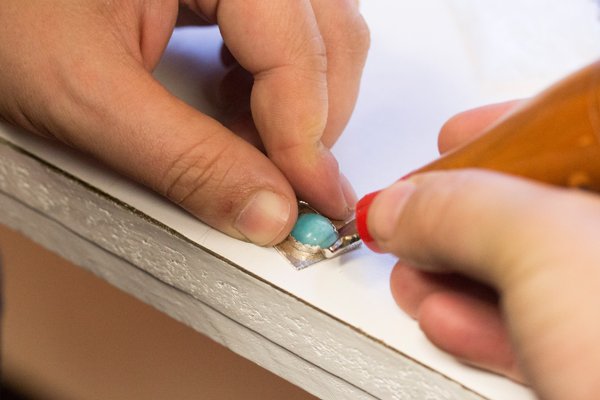
ii. When it's seated, employ the bezel roller to carefully roll effectually the edges of the bezel wire.
3. Use the bezel burnisher to polish out the edges and lock-in the cabochon.
4. Attach the pendant to a necklace chain and it's finished!
Watch the videos below!
Bank check out this step-by-step video on making a cabochon bezel setting.
Dislocated about granules? Watch the video below to encounter how they are made.
Got questions? Email our studio coordinator Erica Stice at studio@halsteadbead.com. We'd love to hear from you. Sorry, studio support is not available past telephone. Emails only, please.
Check out these related resources:
How To Fix Geodes & Slabs
How to Purchase Bezel Strip Wire
How to Prong Fix Stones: A Step by Step Guide
5 Tips to Start Setting Stones
Source: https://www.halsteadbead.com/articles/setting-cabochon
0 Response to "How To Make A Cabochon Setting"
Post a Comment